
Hardwood Floor Installation: Cost Factors and What to Expect Step by Step
· By Glenn Ramos
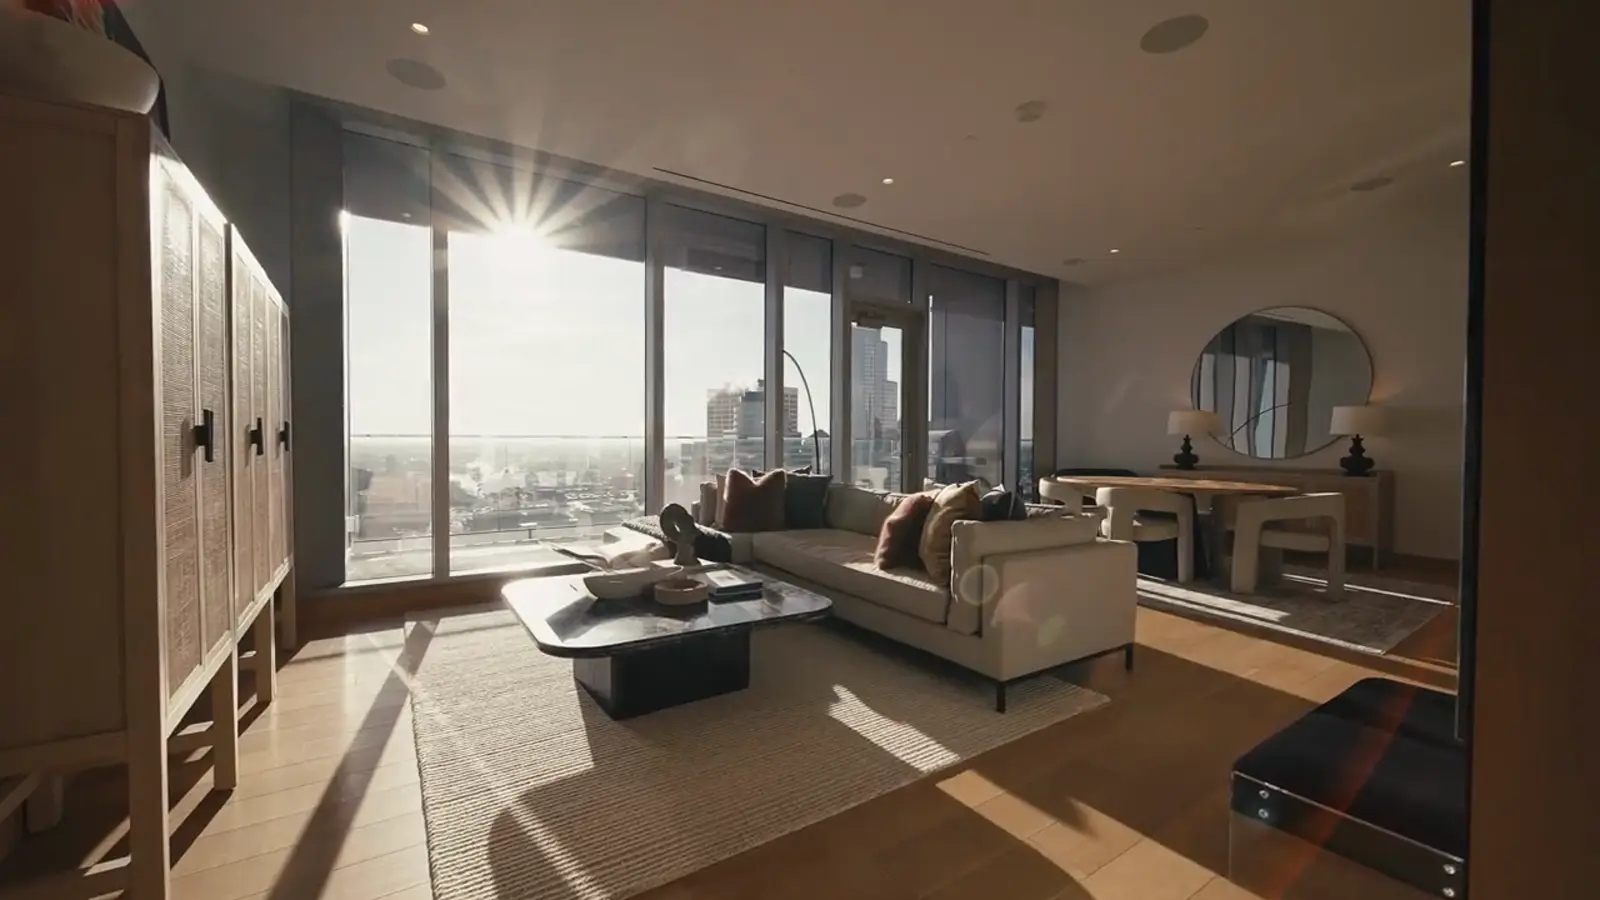
Hardwood is still the floor many Massachusetts buyers look for first. It lasts for decades, can be refinished more than once, and suits everything from a 1920s colonial to a new build. It is also the floor where installation quality shows the most.
Here is what a typical hardwood installation looks like from start to finish, and the factors that move the cost.
Solid strip, plank or engineered?
Solid hardwood strip, usually around two and a quarter inches wide, is the classic New England floor. Wider planks look more modern but move more with humidity. Engineered hardwood has a real wood top layer over a stable plywood core and handles moisture changes better, which is why it is often used over concrete or radiant heat.
Prefinished boards arrive already stained and sealed, so the room is usable sooner. Unfinished boards are sanded and finished on site, which gives a smoother, more uniform surface but adds days and dust.
Step 1: Acclimation
Wood needs to adjust to the moisture level of your home before it goes down. The boxes are brought into the room days ahead, depending on the product and the season. In a Massachusetts winter with the heat running, indoor air is very dry. In August it can be humid. Skipping acclimation is one of the most common causes of gaps and cupping later.
Step 2: Subfloor prep
Hardwood needs a solid, flat wood subfloor. The installer checks for loose boards, squeaks and dips, adds screws where the subfloor moves, and lays a moisture barrier or underlayment paper. In older homes with plank subfloors, this is where most of the hidden work lives.
Step 3: Layout and nailing
Boards usually run perpendicular to the floor joists for strength, and the layout is planned so the floor looks straight in the main sight lines of the room. Each board is blind nailed through the tongue with a flooring nailer, and the end joints are staggered so they do not line up.
Step 4: Sanding and finishing (unfinished wood)
For site finished floors, the floor is sanded flat, stained if desired, and coated with several layers of finish. Each coat needs drying time, and the room stays off limits during that stretch.
Step 5: Trim, transitions and doors
Baseboards and shoe molding go back on, thresholds and reducers are fitted where the hardwood meets tile or carpet, and doors are trimmed if the new floor is higher than the old one.
What drives the cost
Species and grade of wood, width of the boards, prefinished versus site finished, the condition of the subfloor, stairs, and the number of doorways and transitions all affect price. Stairs in particular are slow, detailed work. Removing an old floor and repairing the subfloor can add meaningfully to the total.
If you are planning hardwood near Springfield, Worcester or Milford, PG Solutions can look at your subfloor and give you a free estimate that spells out every one of these items.
Frequently asked questions
- Can hardwood go in a basement?
- Solid hardwood is generally not recommended below grade. Engineered hardwood or vinyl plank are better choices for basements.
- How long does hardwood installation take?
- Prefinished hardwood in an average room often takes one to two days after acclimation. Site finished floors add several days for sanding and coats.
- Can you install hardwood over existing tile?
- Usually not. Hardwood is nailed into a wood subfloor, so tile typically needs to come out first.
Related services
Serving
Found this helpful? Make us a preferred source on Google.
Ready for an exact price?
Get a free, no-pressure in-home estimate. Real numbers for your home, not a phone guess.